Making your own metal armor chest plate is an excellent way to customize and protect yourself from potential harm. Here’s a step-by-step guide on how to create a basic metal armor chest plate:
(how to make metal armor chest plate)
Materials Needed:
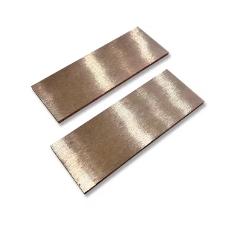
– Metal sheets or plates (such as aluminum, steel, or copper)
– screws or bolts
– Files and measuring tools (such as a tape measure and ruler)
– Scissors or
– Sandpaper
– Paint (optional)
Step 1: Measure and Cut the Metal Sheets
Using a tape measure and ruler, measure the width and length of the chest plate you want to make. Make sure to leave enough space at the top and bottom for hinging.
Cut the metal sheets according to your measurements using a saw or miter saw. You may need to adjust the angle of the cuts to fit your specific needs.
Step 2: Pre-drill the Edges
Before screwing in the metal sheets, use a drill bit to pre-drill holes where you’ll be attaching the plates. This will help prevent sharp edges from piercing through the metal sheet.
Step 3: Attach the Metal Sheets
Using screws or bolts, attach one layer of metal sheets to the edge of the chest plate. Repeat this process for each additional layer, making sure to align the edges properly.
Step 4: Sand the Finish
Once all the metal sheets have been attached, sand them smooth to remove any rough spots or imperfections. This will also help ensure that the metal surface is even and easy to work with.
Step 5: Apply Paint (Optional)
If you’d like to add some color to your chest plate, apply a small amount of paint using a spray bottle. Be careful not to get paint on the hardware or any other parts of the chest plate.
(how to make metal armor chest plate)
That’s it! With these steps, you should be able to create your own simple metal armor chest plate. Remember to take safety precautions and always wear protective gear when working with metal tools or substances. Good luck!